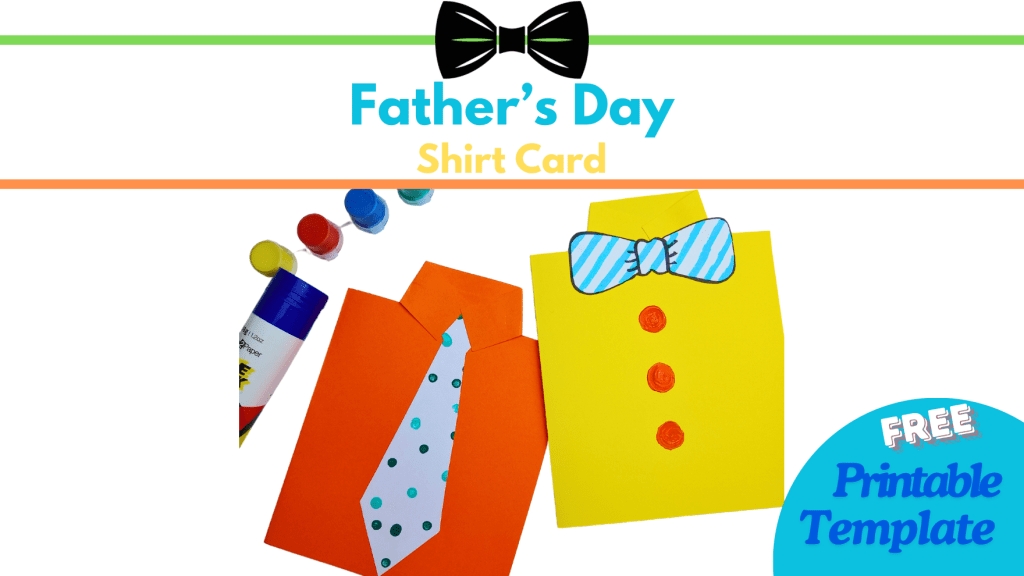
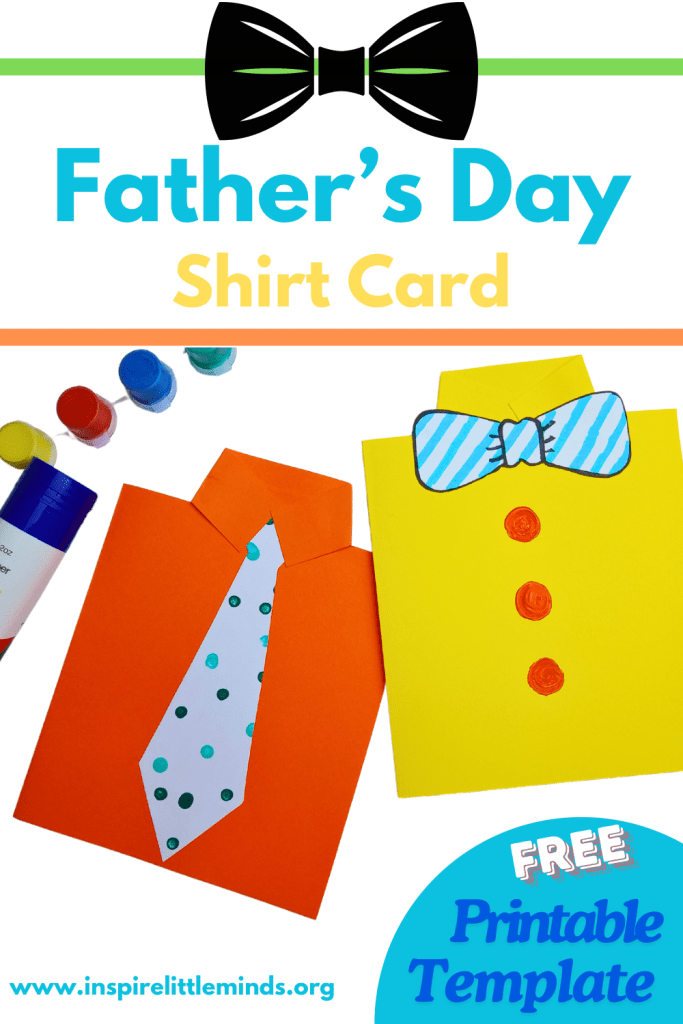
Discover how to create a Father’s Day card using this quick and easy step by step instructions. Use our printable template to make things easier and cut along the lines for a perfect crisp shirt and tie every time. Template link below!
I love creating these cards for my preschool students.
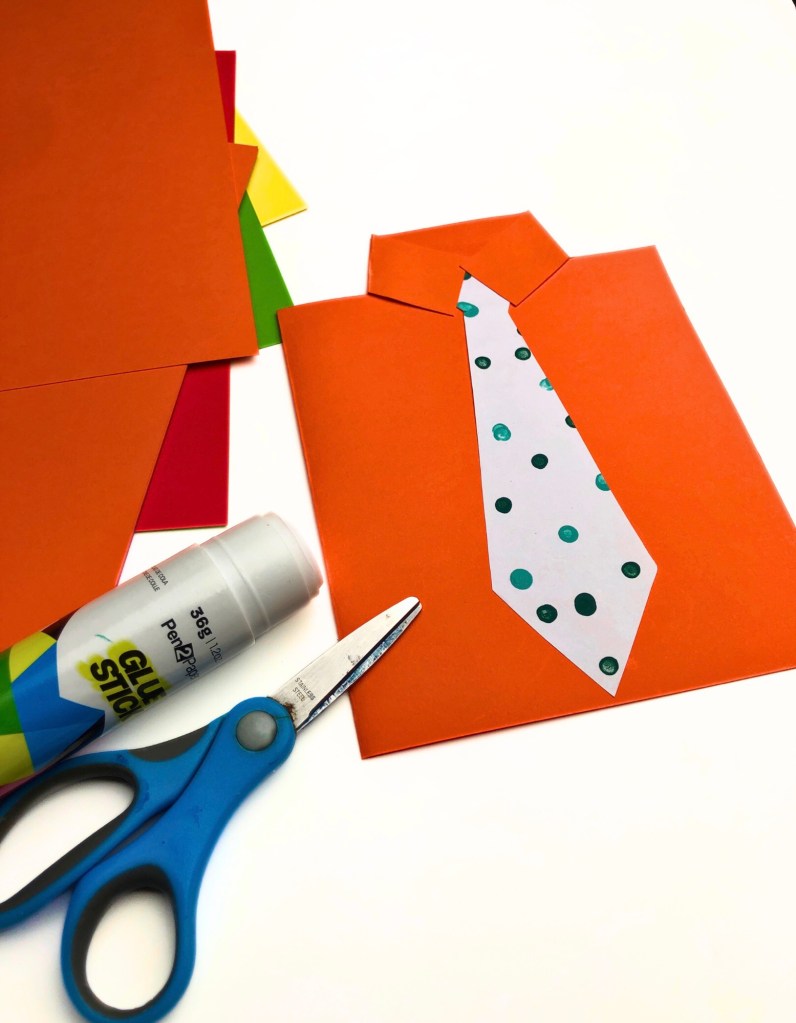
For the tie, this is where we get creative and explore either marble painting, pastels, gluing or dot painting. It’s up to you!
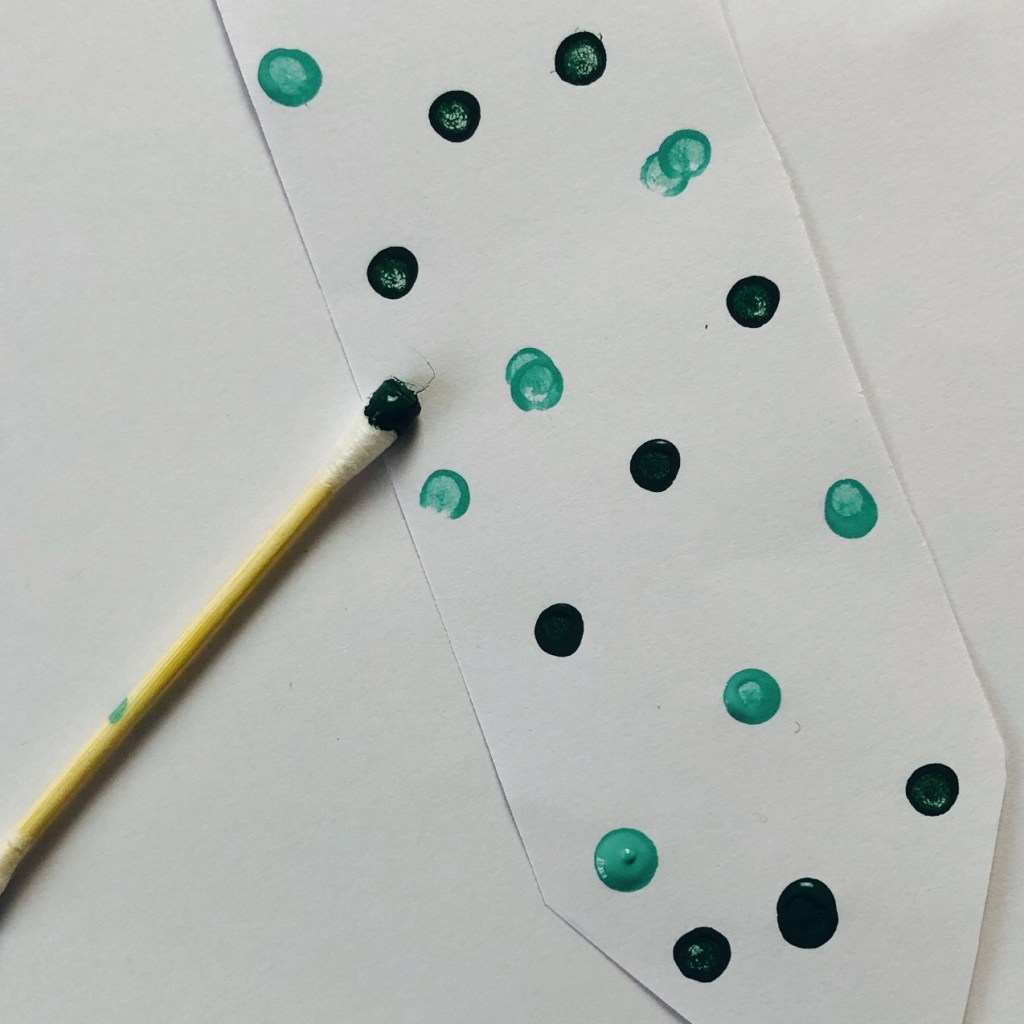
I personally like to do marble painting with the children. I use a shallow tray and add dollops of poster paint on the tie template sheet (uncut).
Place a marble (or two) and with guidance from an adult move the tray sideways, front and backwards. Doing this multiple times creates colourful lines on the paper. Once dried, cut out the tie or bow and stick it on the shirt card.

Subscribe to get activity ideas and printables!
To get started
You will need
160gsm thick colored paper
glue stick
white paper with preferred art work for tie or bow
scissors
Find you printable template here (<<<click the link to download)
If you would like to work without the template, follow the steps below
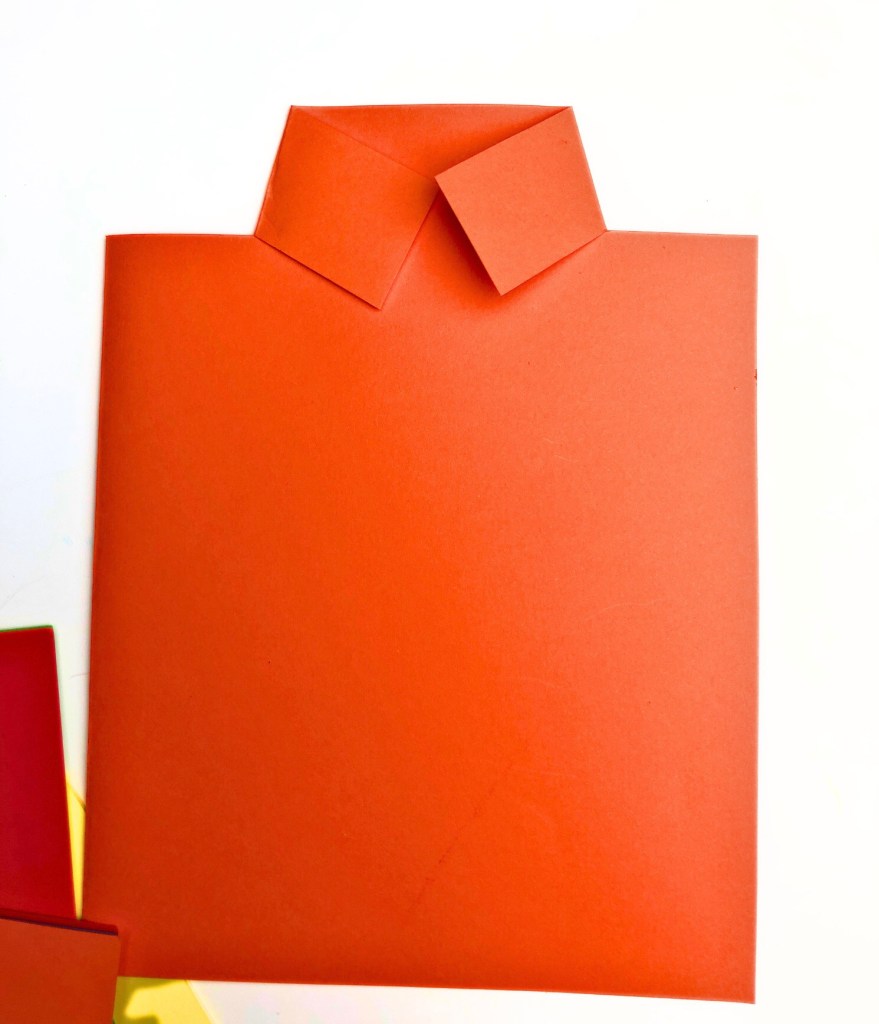
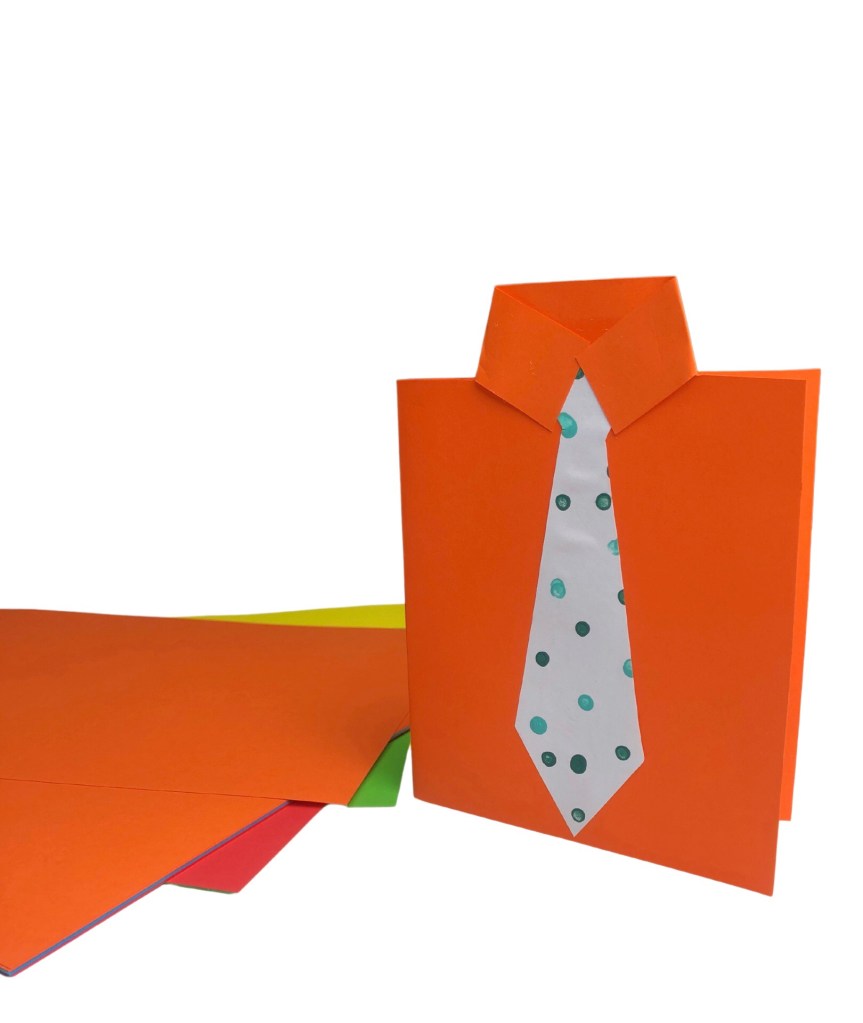
Fold the paper in half, and use scissors to cut 1.5cm from the top diagonally. Cut both sides. Cut off the strip from the back and leave the two flaps.
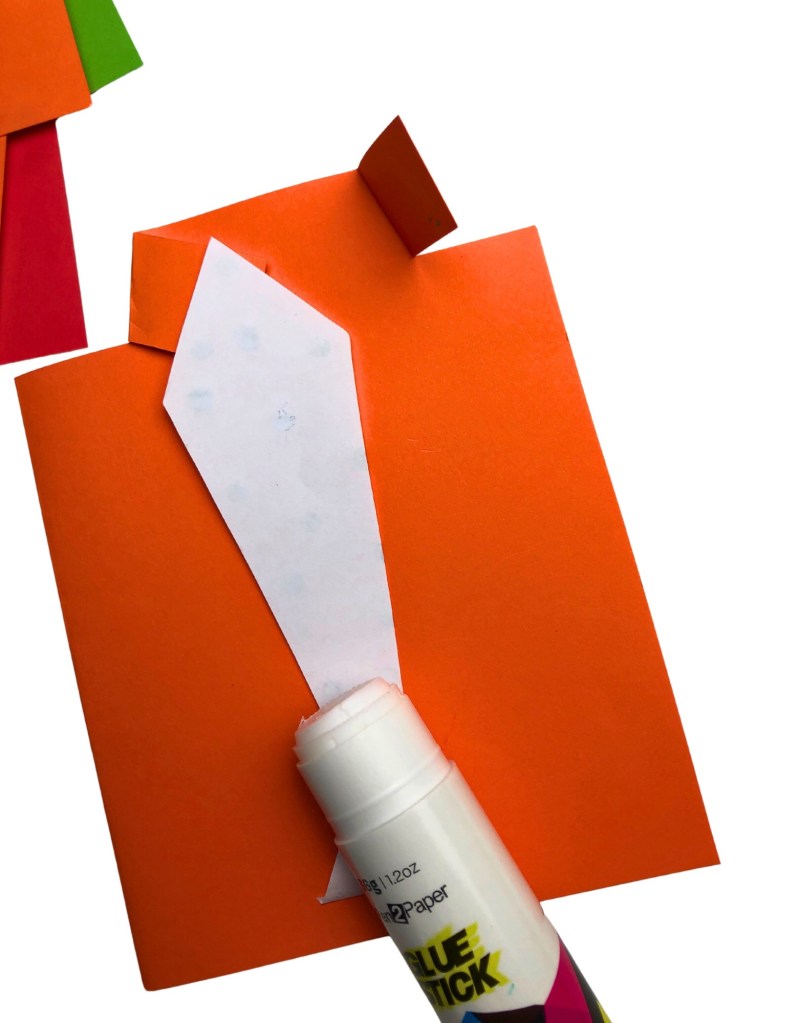
Use your artwork to cut out a tie or bow. Glue the tie inside the collar and if you are using the bow. Glue the bow on top of the glued collar.
Create buttons using anything- I’ve used paint to make buttons- but the options are endless.
And Viola, you have created your Father’s Day Shirt Card. Personalised with your child’s artwork on the front.
To save time on this project print the template >>>here<<<.
This printable has the card, bow, and tie templates ready to print.
Lets get creative!